You need a portfolio? You want to write blogs too?

In this blog I will be writing down steps to create a static website. A static website is one with fixed content, the kind which perfectly fits our needs.
You cannot just have vanilla HTML and some text in your portfolio right?

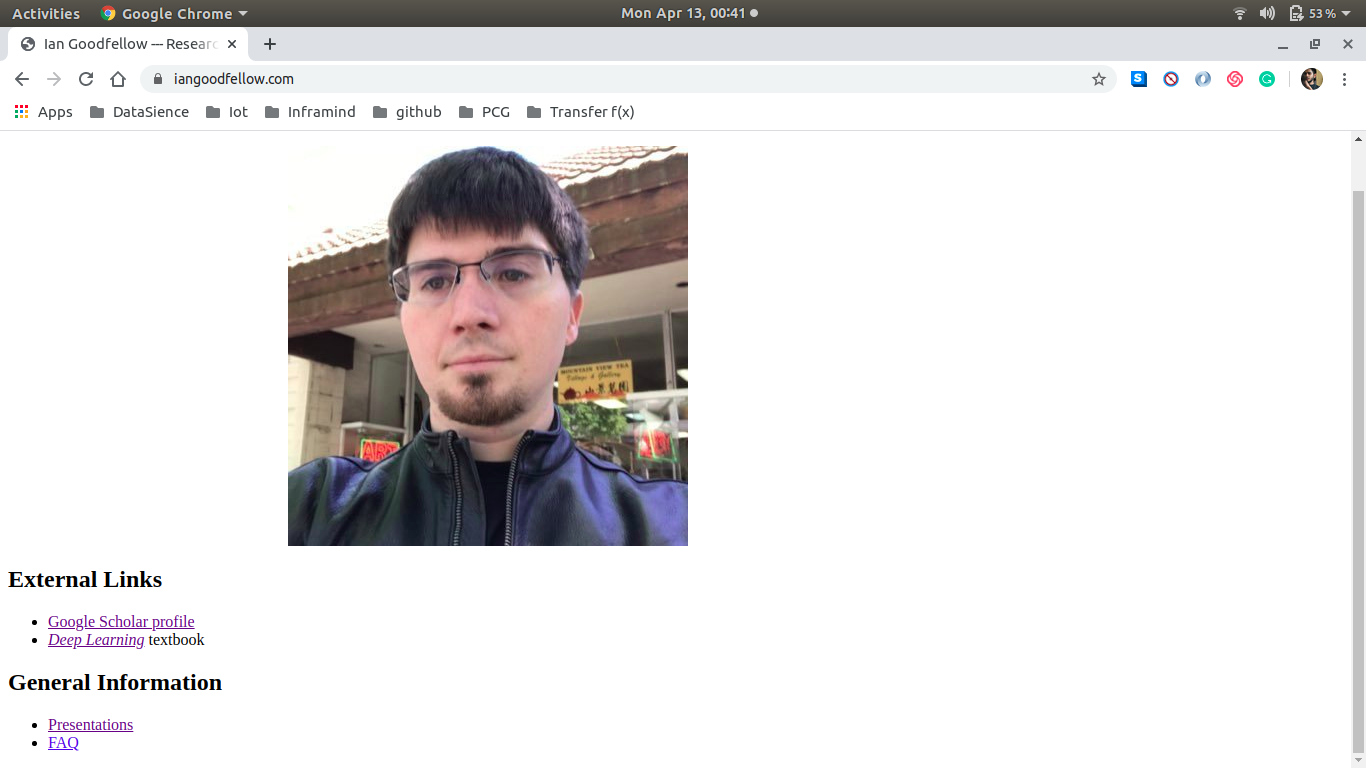
🙄 Just in case you didn’t know, this is Ian J. Goodfellow, researcher working in machine learning, currently employed at Apple Inc. as its director of machine learning in the Special Projects Group. He was previously employed as a research scientist at Google Brain.
Okay, you can, but that is not the point. Most of us would like our portfolios to have aligned pictures, cool fonts and soothing colors. Here we are slowly heading towards CSS to style our HTML.
What if I told you that raw text would be enough to get yourself a cool website?

Enter jekyll. Jekyll is a static site generator. Its official documentation says, “You give it text written in your favourite markup language and it uses layouts to create a static website”.
You make an awesome website, where do you host it now? Github-Pages lets each individual GitHub user host a website for free. 🤑🤑🤑 Got you at free didn’t I?
I am assuming that you already have a GitHub account. If you don’t, this wiki page can be of help.
Our plan of action would be to:
- Creating a
defaultjekyll website. - Locally deploying the website.
- Being able to read a jekyll project.
- Tweaking our default site.
- Deploying the website with
GitHub-Pages.
Creating a default jekyll website
Jekyll is built with a programming language called Ruby. For creation of a website with jekyll we need to first configure our system. This link would be the best place for you to check with the installation process. Install the dependencies and then return to this blog.
Now that you have configured your system. Let’s dive into some simple commands to spin up your own default website.
gem install jekyll bundler
jekyll new myblog
After you typed the above commands, you will have a directory named myblog. The directory structure would be something like this:
.
├── 404.html
├── about.markdown
├── _config.yml
├── Gemfile
├── Gemfile.lock
├── index.markdown
└── _posts
    └── 2020-04-12-welcome-to-jekyll.markdown
Locally deploying the website
Now that we have our website, let us fire it up. Type the following command at the root directory of your website.
bundle exec jekyll serve
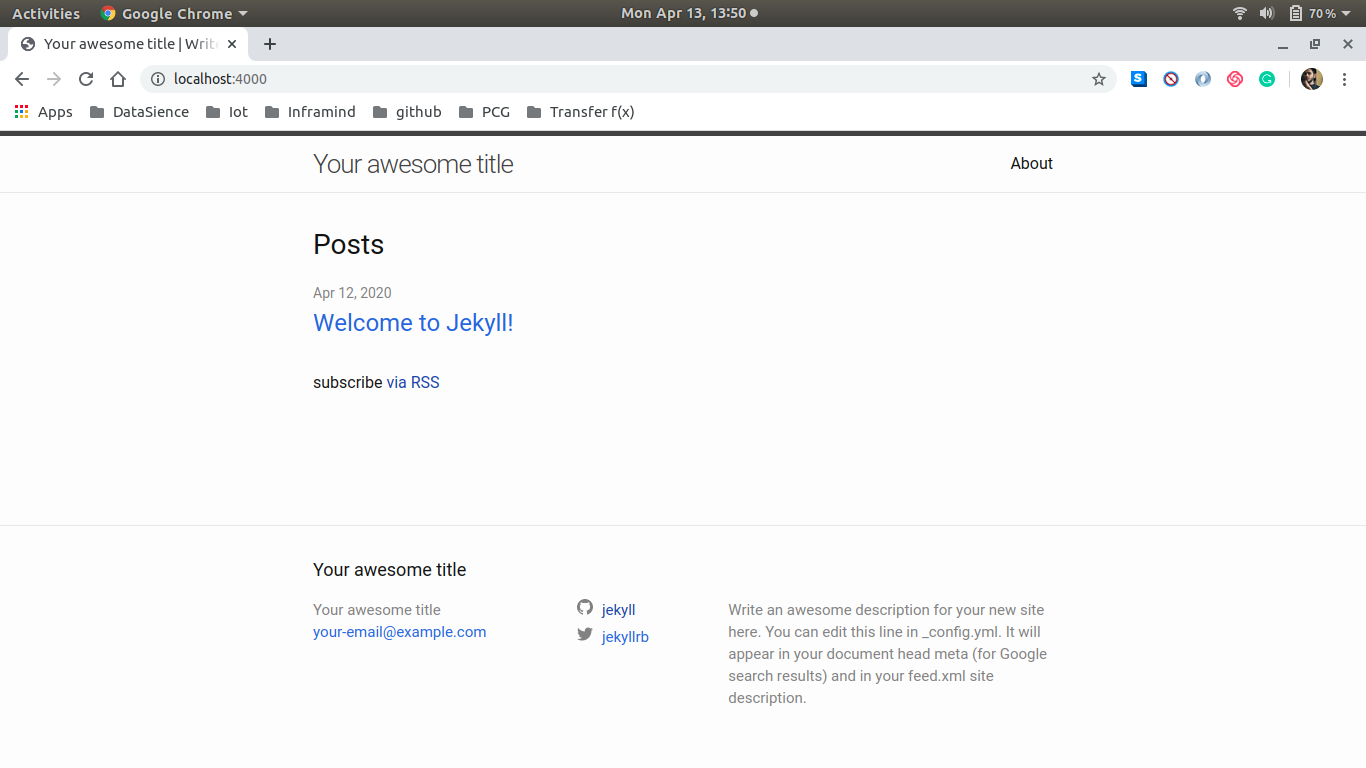
Our website is now being served at 127.0.0.1:4000. To see the website running, go to your favourite browser and hit 127.0.0.1:4000. Looks pretty cool right?

"খুব মিষ্টি"(sweet!), that is what I had said after I saw the website running.
Being able to read a jekyll project.
The myblog directory structure would be a little different now, than what we had earlier.
.
├── 404.html
├── about.markdown
├── _config.yml
├── Gemfile
├── Gemfile.lock
├── index.markdown
├── _posts
│   └── 2020-04-12-welcome-to-jekyll.markdown
└── _site
   ├── 404.html
   ├── about
   │   └── index.html
   ├── assets
   │   ├── main.css
   │   ├── main.css.map
   │   └── minima-social-icons.svg
   ├── feed.xml
   ├── index.html
   └── jekyll
       └── update
           └── 2020
               └── 04
                   └── 12
                       └── welcome-to-jekyll.html
-
404.html - This file would be served if you hit an
invalidurl. -
about.markdown - This is the file that is rendered as you click the
aboutbutton in the website. -
_config.yml - A configuration file, that is needed when you would want to tweak the website according to your needs.
-
Gemfile - This is the
rubydependency file. This would include the plugins and gems for ruby. We will change this file not very often. -
Gemfile.lock - This is where
bundlerrecords the exact versions that were installed. -
index.markdown - This is what you view when you have just started the website. This is the starting page of your website.
-
_posts - A place for all the blogs that you write. This is the most important place for a blogger. You write your blogs in a favourable
markuplanguage and then save it in this folder. Jekyll automatically shows the post you just wrote. The name of the blog should be written inyyyy-mm-dd-name-of-the-blog.mdThis convention is necessary for jekyll to organise the blogs in terms of creation dates. -
_site - This is a directory that is rendered by jekyll. We do not change anything in this directory. We change files outside of the
__sitefolder. When jekyll renders our tweaks, that is reflected in the _site folder itself.
Tweaking our default site
The default site is cool and all, but we need to see our face on the website, our name, and a funny tech description (NERD ALERT!) too, don’t we?
The _config.yml file
We can tweak a lot from this file itself. Open the file in your favourite text-editor. A yml file is a collection of key: value pairs. The values are accessed through the unique keys in different parts of the website. Let’s change the title of our website.
.
.
# Site settings
# These are used to personalize your new site. If you look in the HTML files,
# you will see them accessed via Portfolio, aritra.roy.g@gmail.com, and so on.
# You can create any custom variable you would like, and they will be accessible
# in the templates via .

title: Protfolio
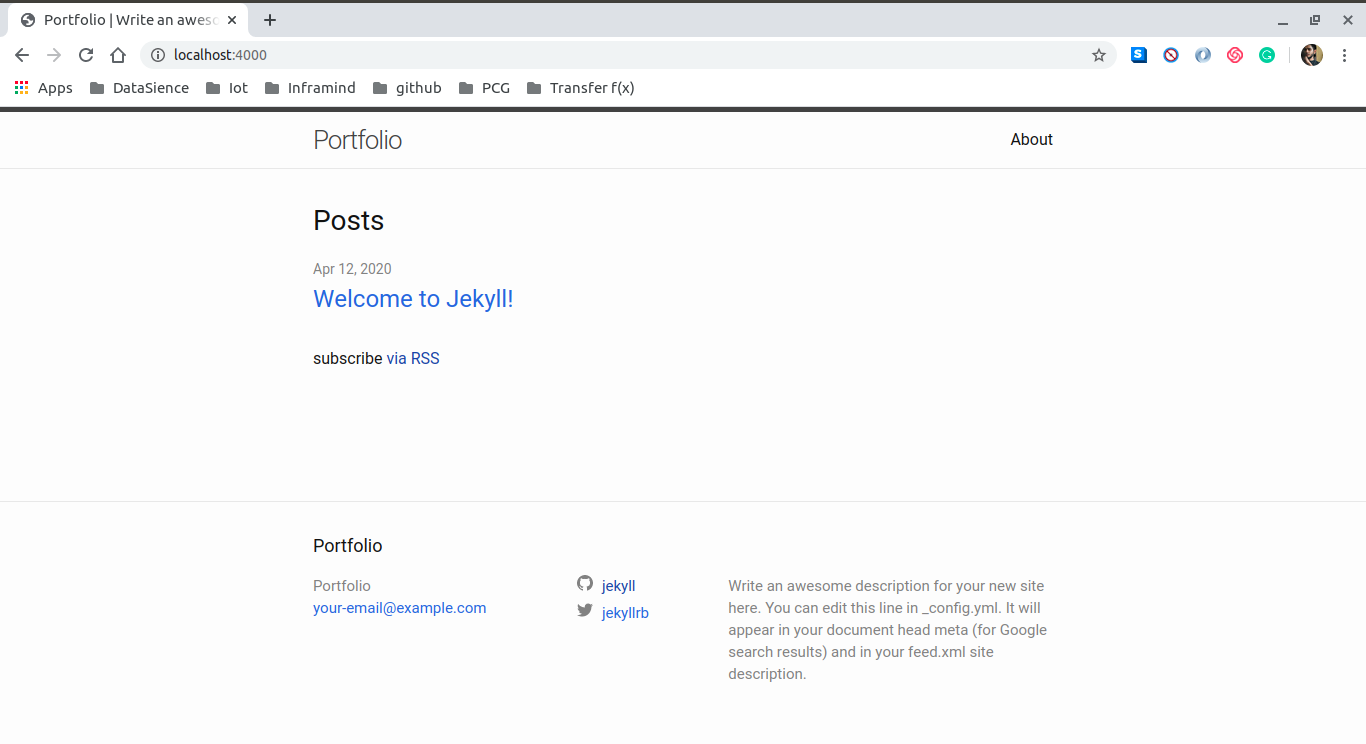
I have changed the value to Portfolio. Save the file. If the command bundle exec jekyll serve is running, please terminate the process and run again. From the second time we can serve the website by running jekyll serve in the root directory of your website.

You do see the title changing right? Refresh the page if not. Now that you know what needs to be done, go on and change some other key:value pairs and see for yourself.
In yml, do not try to change the
keyas they are unique and are used to access thevalue. You can either add a new unique key or change the value, but no changing keys okay?
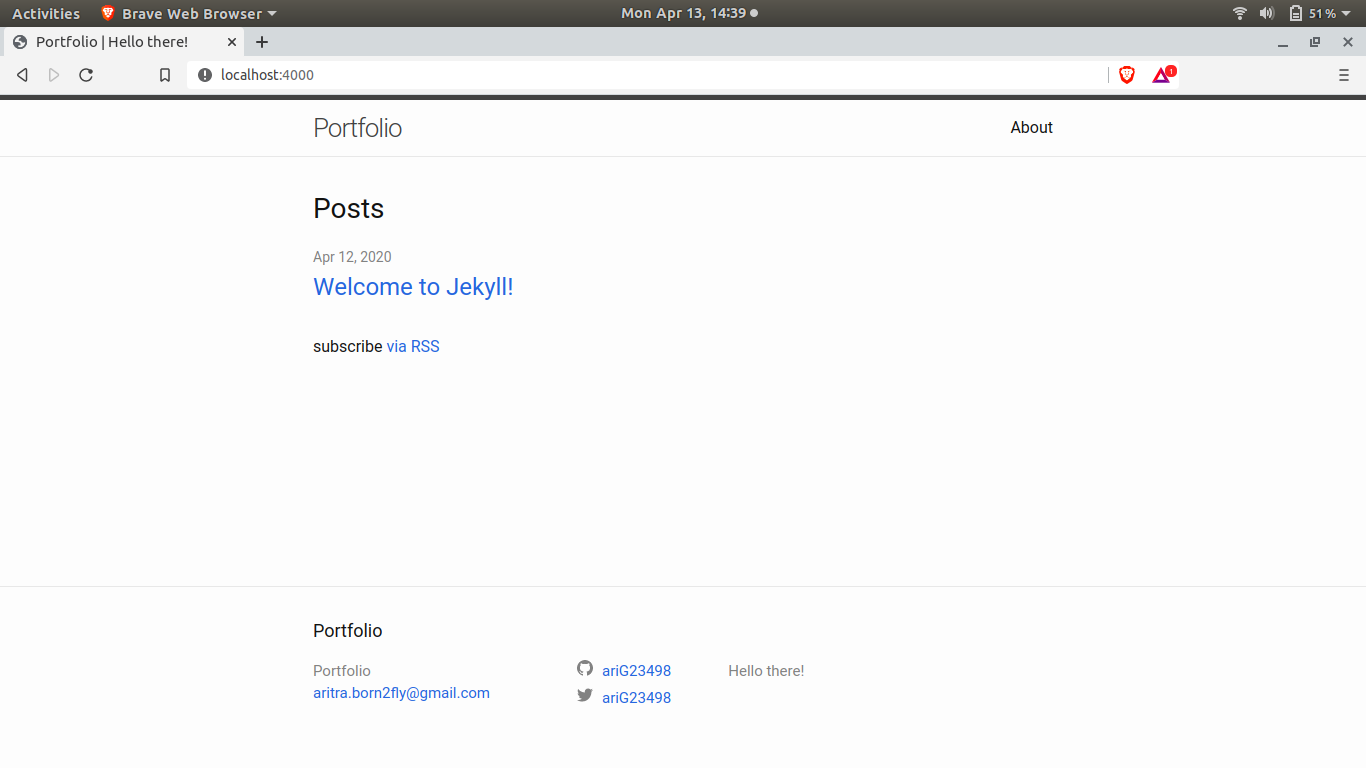
I did the following changes:
title: Portfolio
email: aritra.born2fly@gmail.com
description: >- # this means to ignore newlines until "baseurl:"
  Hello there!
baseurl: "" # the subpath of your site, e.g. /blog
url: "" # the base hostname & protocol for your site, e.g. http://example.com
twitter_username: ariG23498
github_username:  ariG23498

Front Matter
Open the index.markdown file. I have told you that, this is the file that is served as the starting page of your website. To your surprise you will find nothing in the file. Some weird lines, a little text and that is all. Where is the html code for the header, body, footer? 😲
---
layout: home
---
This is what is known as the front matter. Front matter is the block of yml code. Between these triple-dashed lines, you can set predefined variables (see below for a reference) or even create custom ones of your own.
Some variables that you frequently come across are:
- layout
- title
- permalink
layout
This variable tells what layout to use for the particular file. Change the value for the layout variable from home to post or page. Notice a change? “What if I decide to create a layout of my own?” I am happy that you asked. You have got to create a folder named _layouts on the root directory.
.
├── 404.html
├── about.markdown
├── _config.yml
├── Gemfile
├── Gemfile.lock
├── index.markdown
├── _layouts
│   └── mylayout.html
├── _posts
    └── 2020-04-12-welcome-to-jekyll.markdown
I have made a mylayout.html file inside of the newly created _layouts folder as is evident. The code for mylayout.html is simple.
<h1> Hello World </h1>
Now the last step would be to change the layout:home variable in the index.markdown file. We need to replace home to mylayout.
Let’s see what we have here 👀

You get the hang of it right? Whatever layout you want, create an html file and keep it in the _layouts folder. You can use the layout by specifying the name of the hmtl file you just created.
title
This variable is used to fetch the title of the page. In the about.markdown file, this variable would be assigned About, which is indeed the title of the page. You can change this and see for yourself.
permalink
When you deploy a website, you are supposed to hit a url and look at your website right? Jekyll gives you a cool way to create your own url endpoints.
In our website, when you go to 127.0.0.1:4000 we see our website, that is the url. Now type 127.0.0.1:4000/about and see what happens. This takes you to the About page, hence /about is the end-point.
This is the code in the about.markdown file. Change the permalink variable to /check-about/.
---
layout: page
title: About
permalink: /check-about/
---

This is the base Jekyll theme. You can find out more info about customizing your Jekyll theme, as well as basic Jekyll usage documentation at [jekyllrb.com](https://jekyllrb.com/)

You can find the source code for Minima at GitHub:
[jekyll][jekyll-organization] /
[minima](https://github.com/jekyll/minima)

You can find the source code for Jekyll at GitHub:
[jekyll][jekyll-organization] /
[jekyll](https://github.com/jekyll/jekyll)


[jekyll-organization]: https://github.com/jekyll
You will now need to hit 127.0.0.1:4000/check-about/ to go to the about page. This is how we change the permanent links to pages.
Themes
Jekyll has an extensive theme system that allows you to leverage community-maintained templates and styles to customize your site’s presentation.
Now that you know what to do and what goes where as an overview, I think theme selection would be a piece of 🍰.
Deploying the website with GitHub-Pages

Now that you are ready with your website, it is time for us to publish it.
- Create a GitHub repository and name it
<githubusername>.github.io. You will put your github user name in the<githubusername>field. - Some little changes in the gemfile is necessary.
This is how my entire Gemfile looks:
source "https://rubygems.org"
gem "github-pages"
The github-pages gem is necessary for hosting your jekyll project.
- Add the whole website folder to this repository.
- After you have uploaded the repository in GitHub, you can go into your internet browser and type in
<githubusername>.github.ioand there you have it. You site up and running.
Conclusion
Oh you are still here? Thanks for hanging around. If you got your website up and running with the help of my blog, be a sport and send me the link. If you liked this blog and want me to cover a little more in terms of tweaking the jekyll website, do comment down here.
